1. Installation Process#
- Docker installation of HomeAssistant
- Git installation of HA-Mijia Integration
- Configure internal network penetration for public access
- Install Hass Panel
- Configure Apple HomeKit Bridge
2. Pitfalls#
Since my Docker was installed via 1panel with one click, naturally HomeAssistant was also installed with one click from the 1panel app store. The default path for 1panel is /opt/1panel/apps/home-assistant/home-assistant/data.
The README.md in the official Xiaomi repository states:
cd config
git clone https://github.com/XiaoMi/ha_xiaomi_home.git
cd ha_xiaomi_home
./install.sh /config
I thought the config folder referred to creating a new config folder under /opt/1panel/apps/home-assistant/home-assistant/data, but after installation, I couldn't display xiaomi_home. It wasn't until I read an article that I realized data is the config folder mentioned in the article. This means that if HomeAssistant is installed via 1panel, you only need to cd to /opt/1panel/apps/home-assistant/home-assistant/data and then execute the installation. The default app store installation of 1panel really has many pitfalls, and many containers have various issues when installed, which is very troublesome.
After resolving this issue, I was able to successfully install the HA-Mijia integration.
After the installation is complete, follow the steps in the GitHub tutorial to configure the login. Currently, most products in Mijia can be directly imported, except for some Bluetooth-connected devices.
3. Configuring Public Access#
I originally thought this step would be the simplest, but after setting up the domain binding in the Cloudflare Zero Trust panel, I encountered an error when accessing it. After a lot of troubleshooting, I finally found a corresponding discussion thread in the HA community forum and successfully resolved it.
Issues Encountered During Configuration:#
-
Error when accessing after configuration:
400: Bad Request- Solution: Modify the configuration file
- Generally, you need to add the following code to the HA
configuration.yamlfile:
http:
	use_x_forwarded_for: true
	trusted_proxies:
		- 192.168.31.137/32
The
trusted_proxiesfield needs to be changed to the IP of your deployed device. -
Recovery mode
-
https://community.home-assistant.io/t/cloudflare-400-bad-request-error/326047/24
-
Sometimes, after modifying the
configuration.yamland restarting HA, you may find that HA enters recovery mode. -
This is due to issues with the configuration file format or other reasons that prevent the configuration file from loading, causing the system to enter recovery mode.
-
Solution: Carefully check the format of
configuration.yaml. One important point to note is thattrusted_proxiescan only accept IP addresses or CIDR format subnet masks, and cannot directly use domain names. When Home Assistant tries to resolve these domain names, it throws an error, causing thehttpcomponent to fail to start.
-
-
Related Issue: Components dependent on
httpcannot loadhttpis the foundation for many core components, includingfrontend,websocket_api,zeroconf, etc.- If the
httpcomponent fails to load, all functions dependent on it will fail, leading to numerous errors.
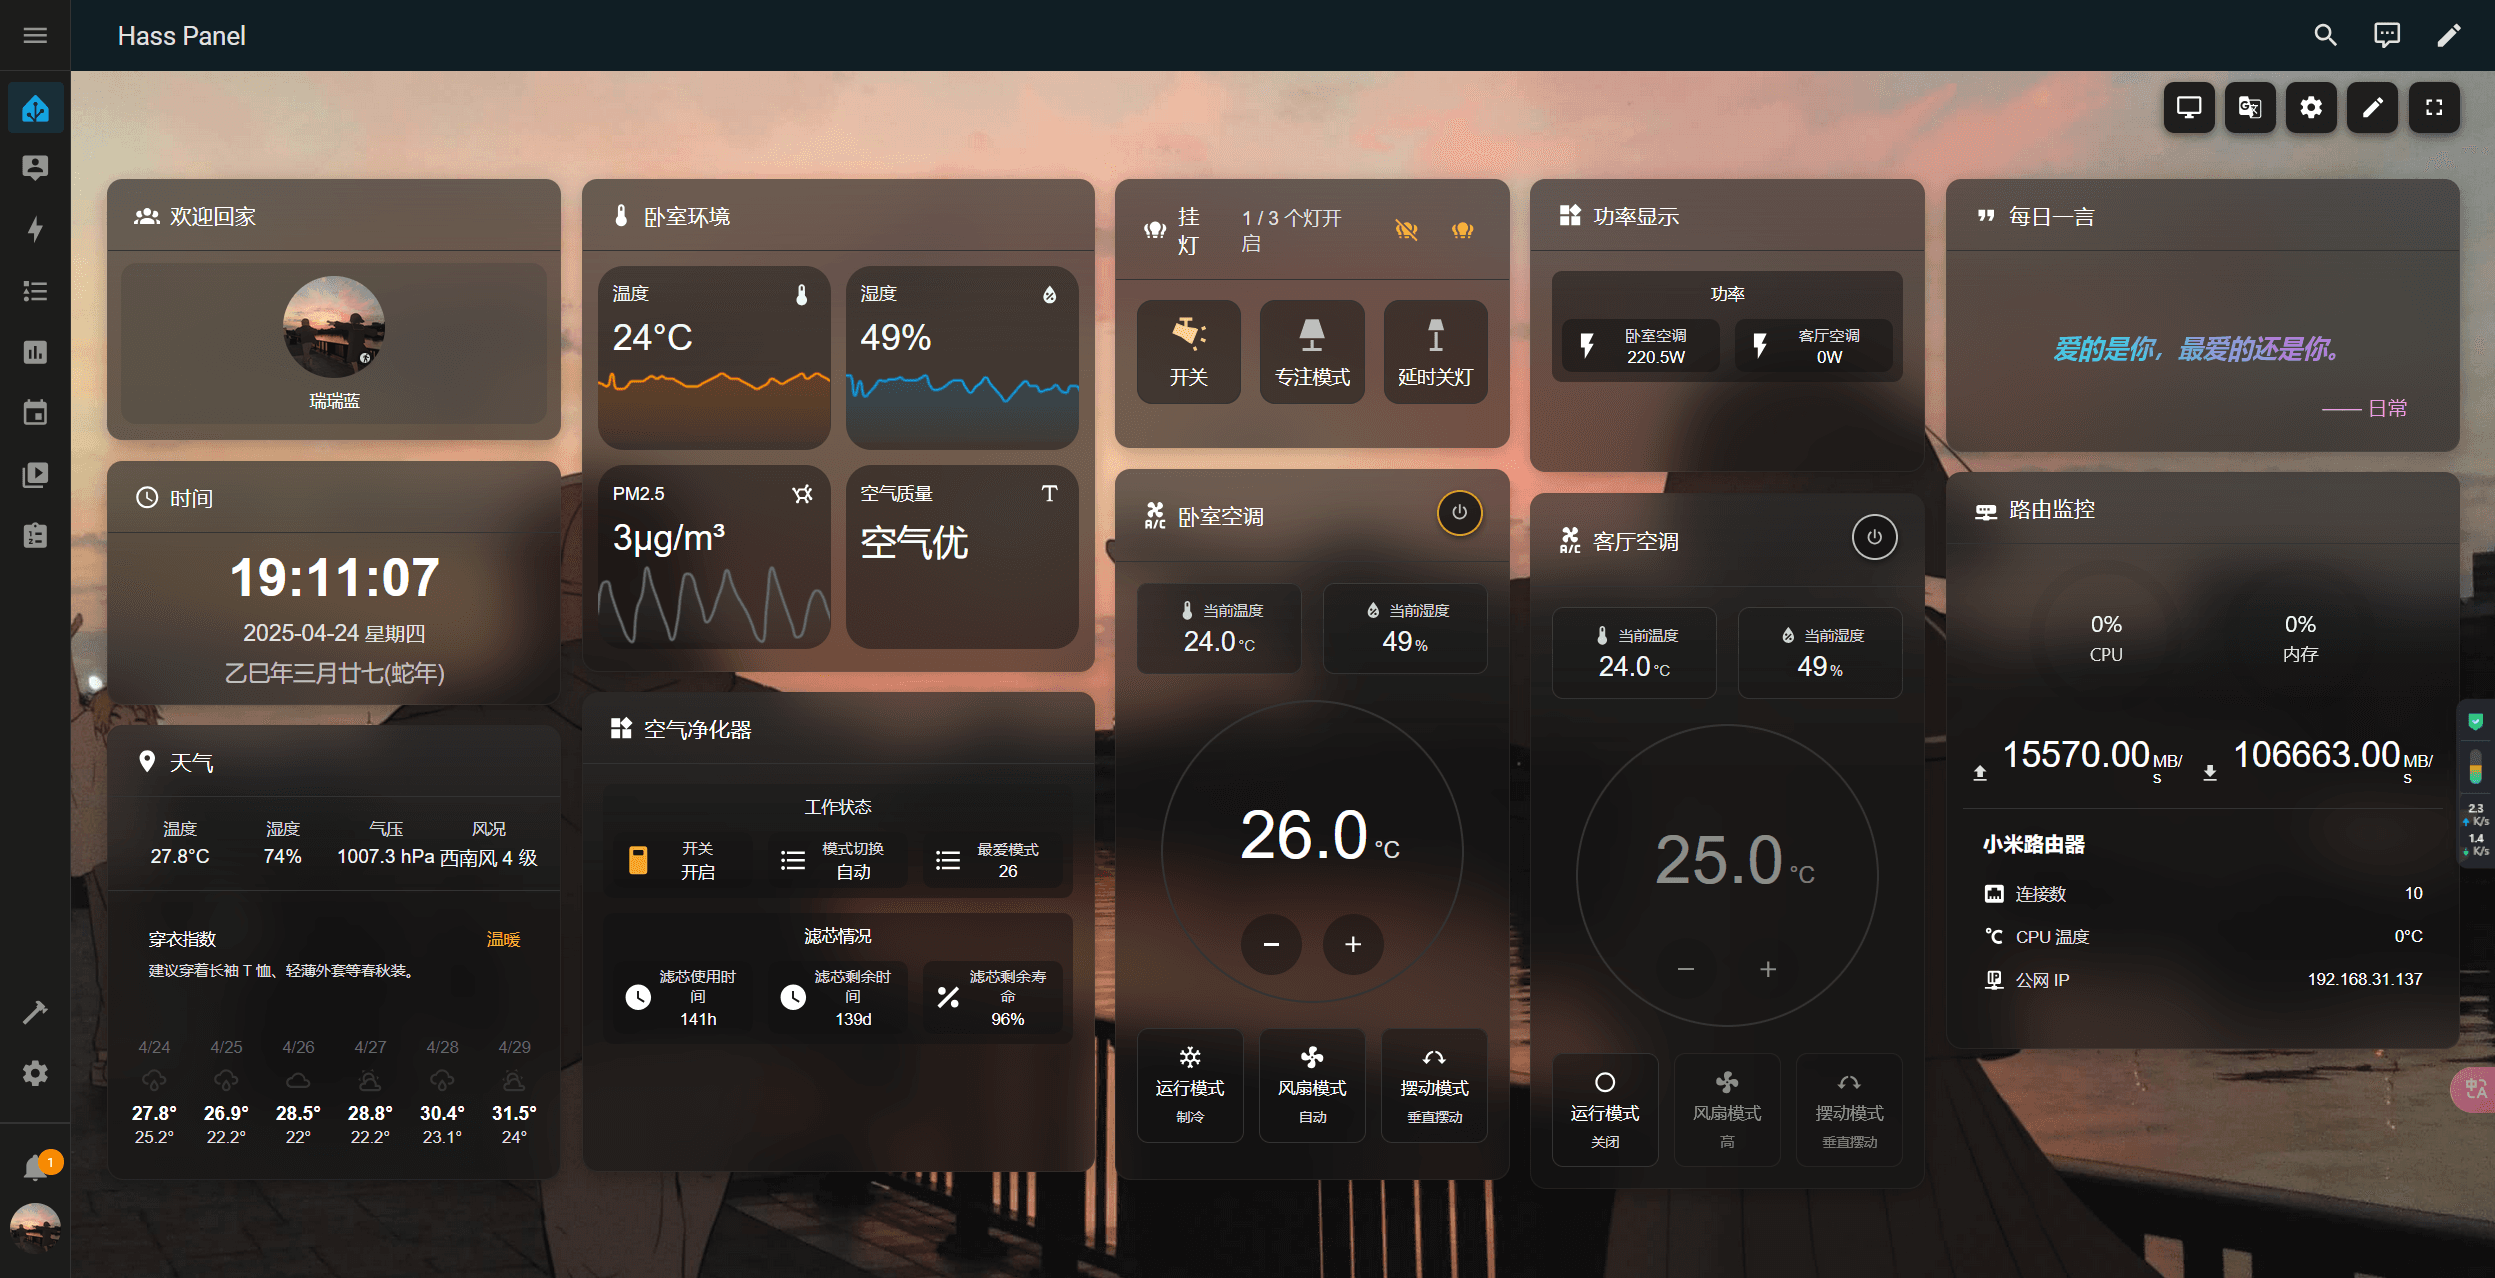
4. Installing Hass Panel#
Github Repo not found
The embedded github repo could not be found…
1. Summary of Issues:#
-
After configuring public access, the HA panel prompts:
the operation is insecure -
Failed to construct 'WebSocket': An insecure WebSocket connection may not be initiated from a page loaded over HTTPS.
2. Cause:#
The cause of these two issues, or this type of issue, is similar. After the initial deployment is successful, the local address filled in with http at the beginning, and after HA binds the domain name, accessing Hasspanel in HA will change to https, leading to an insecure behavior that is blocked by the browser.
3. Solution:#
Reinitialize Hasspanel and fill in the https address when entering the URL.
5. Apple HomeKit Bridge#
In the HA panel - Settings - Devices & Services - Add Integration - Search for "Apple", then select "HomeKit Bridge". After clicking through the steps, HA will display a message. Scan the QR code in the message with your iPhone to pair and add it, which is not difficult.
The Control Center can also be added!
However, the same issue remains; currently, devices that are not supported by the Mijia integration cannot be added to Apple Home. Additionally, some devices, such as air purifiers, actually have temperature and humidity sensors that can be detected and added to the HA panel, but cannot be used in Apple Home, only the basic air purifier switch function is available, which is a pity.
6. Summary#
At this point, the tinkering with HA is basically complete.
Studying things at night really sparks inspiration, and problem-solving abilities go up~ During the day, I always feel restless and inefficient.
After resolving everything, alexblue logs out!